Documentation GitLab tutorial
The Cyberinfrastructure Research Computing (CIRC) team houses documentation in a GitLab project. To contribute, you need to fork the project, commit your changes, and then create a merge request to the main project.
|
It’s best to follow the steps below on a desktop or laptop, not a phone or device. |
Fork the documentation
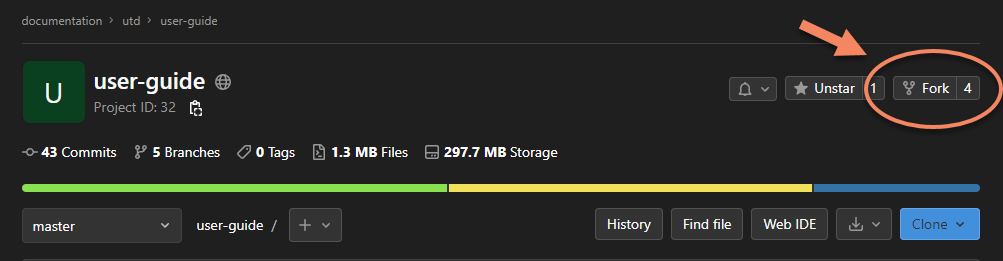
From the main project,
click the Fork button near the top of the page
On the following page, select a namespace for your fork, generally your name.
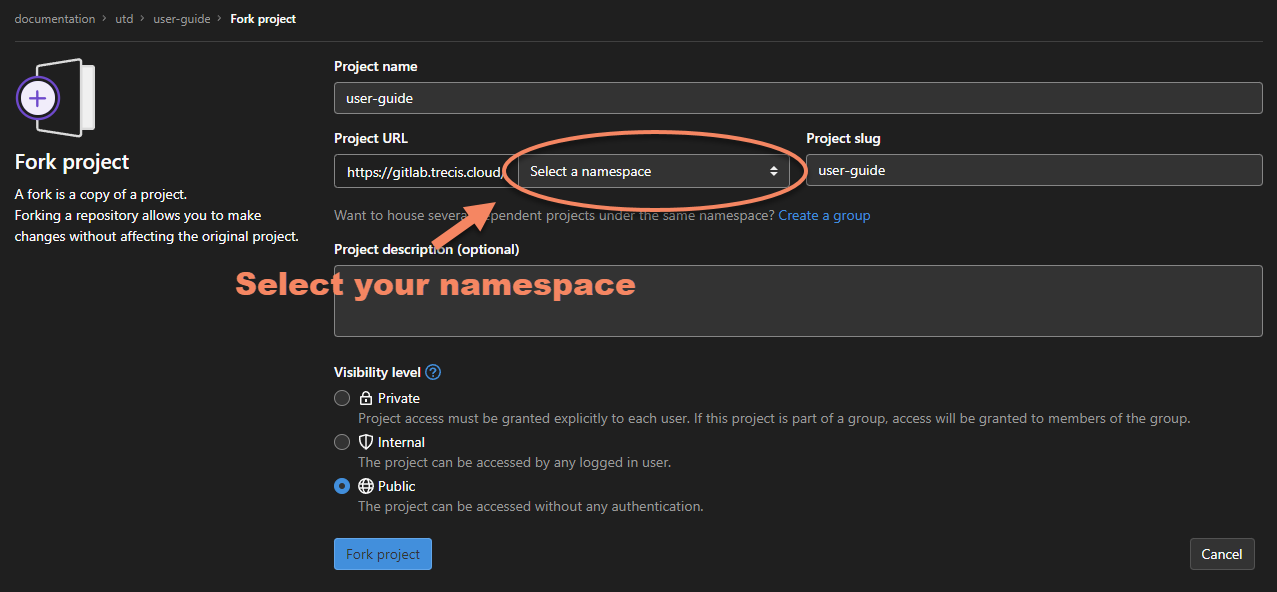
After you create your fork, you’ll be redirected to your fork’s project URL.
|
Make a note of what name and |
Add your edits
You can either edit locally on your computer or use the GitLab Web integrated development environment (Web IDE) to make your changes. For instructions on cloning and committing from your local computer, see the git tutorial page.
Using the GitLab web IDE
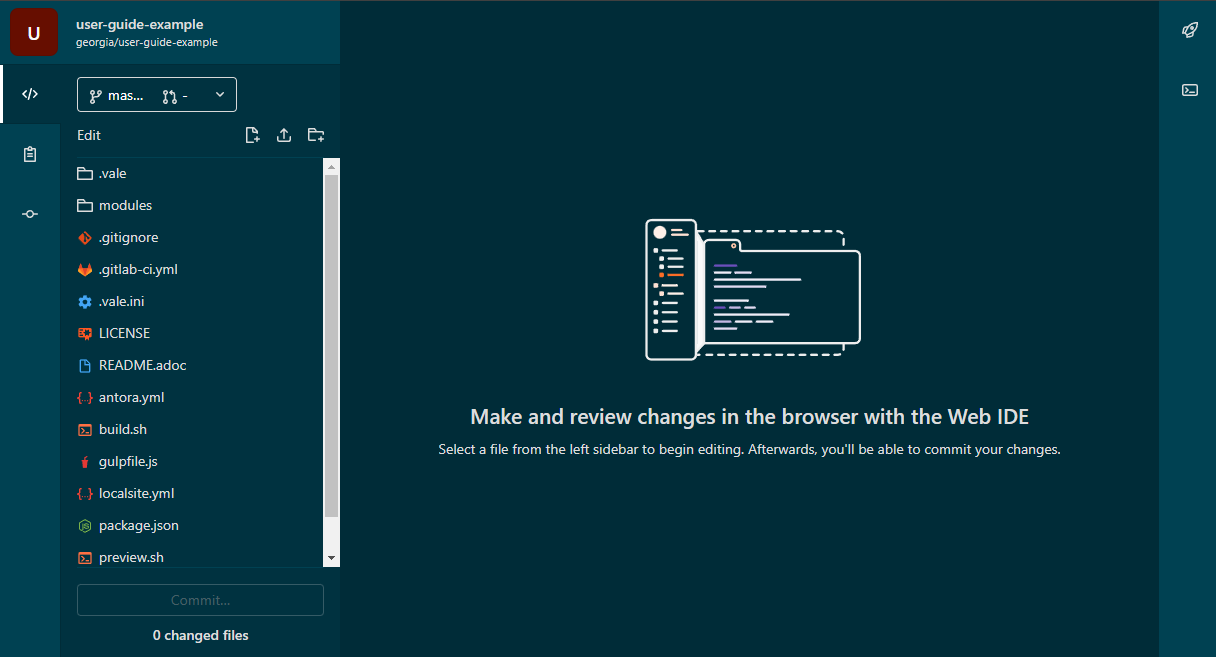
To use the GitLab web IDE, either click the "Web IDE" button or press . when
on the repository page.
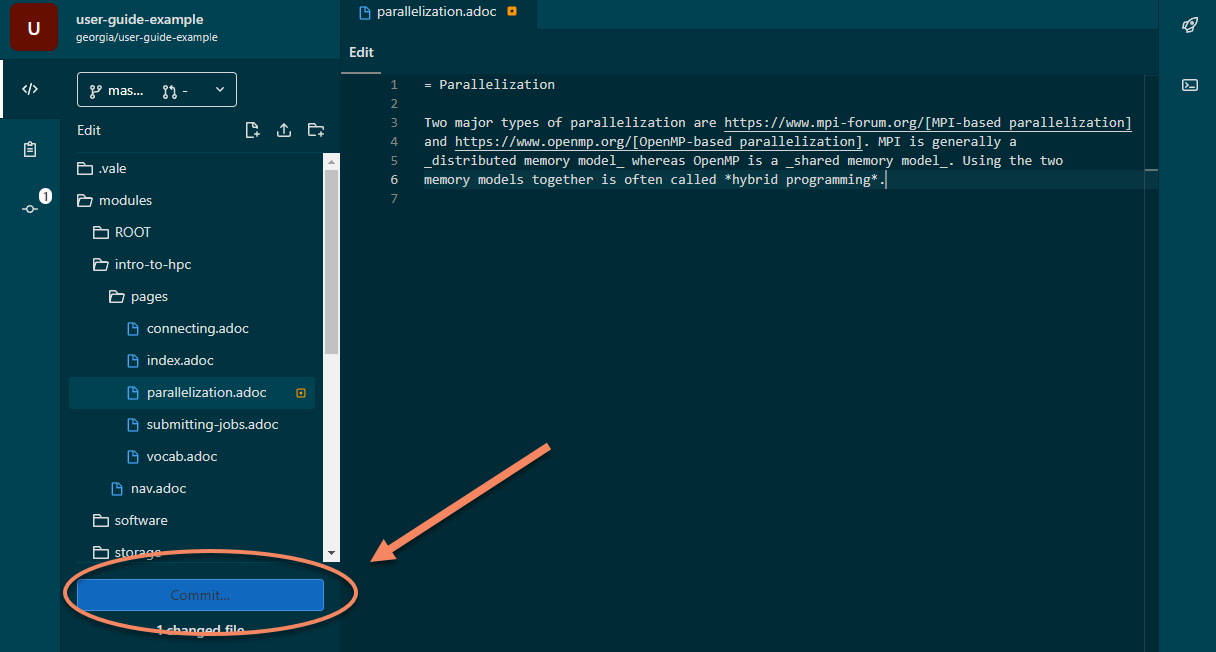
This is what you should see:
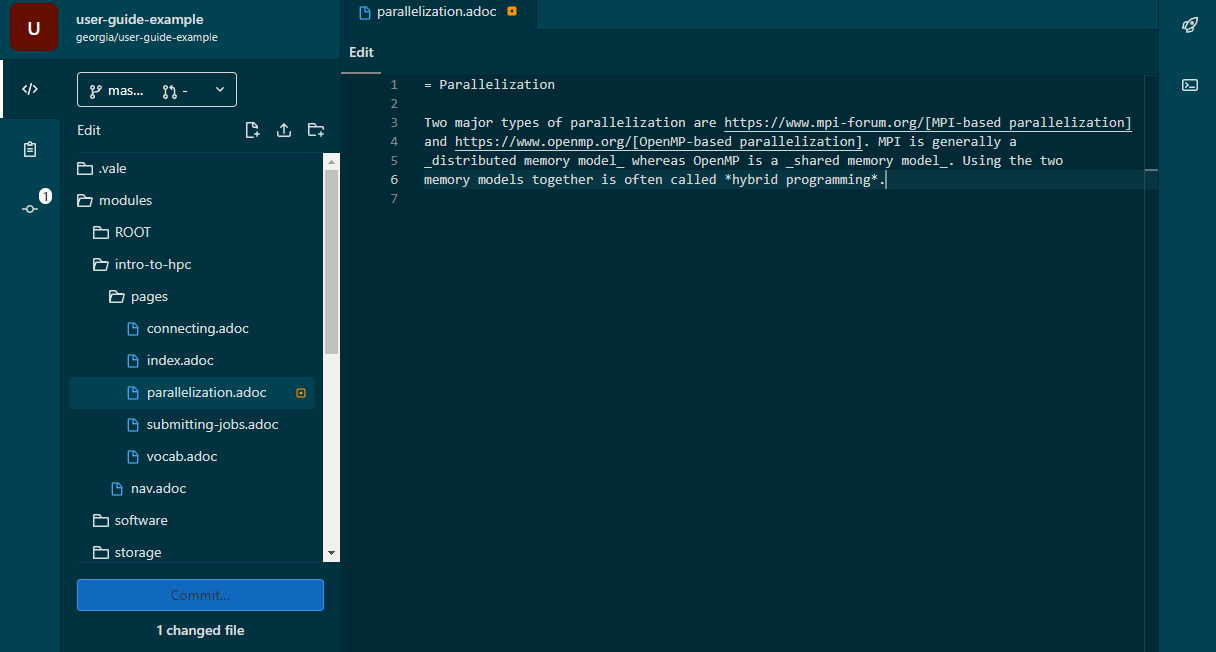
The left bar is the file navigation menu. You can select the file you want to
edit here, or add new directories and files. The main pane is the editing
section. This example shows adding text to the
parallelization.adoc file.
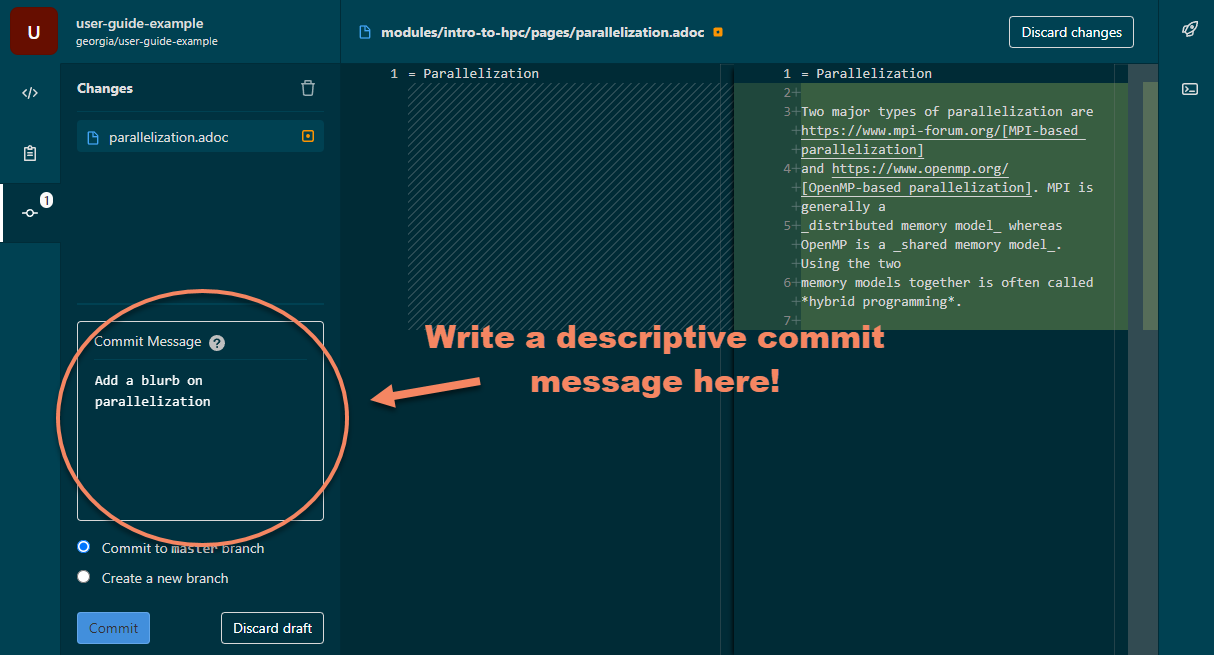
Once you’re happy with your changes, you can commit them. Committing saves your changes along with a note about them to the repository.
Your commit message should be descriptive. Anyone glancing at the commit history should be able to understand what changes you made.
|
It’s better to over-commit than under-commit. Commit early and often when you make encapsulated changes. Here are some good articles on best practices: |
Viewing the Vale linter output
Once you’ve written your updates and committed to your fork. The Vale automatic copyeditor scans your file for spelling, grammar, and any rules violations. You can see the output in the _pipeline menu:
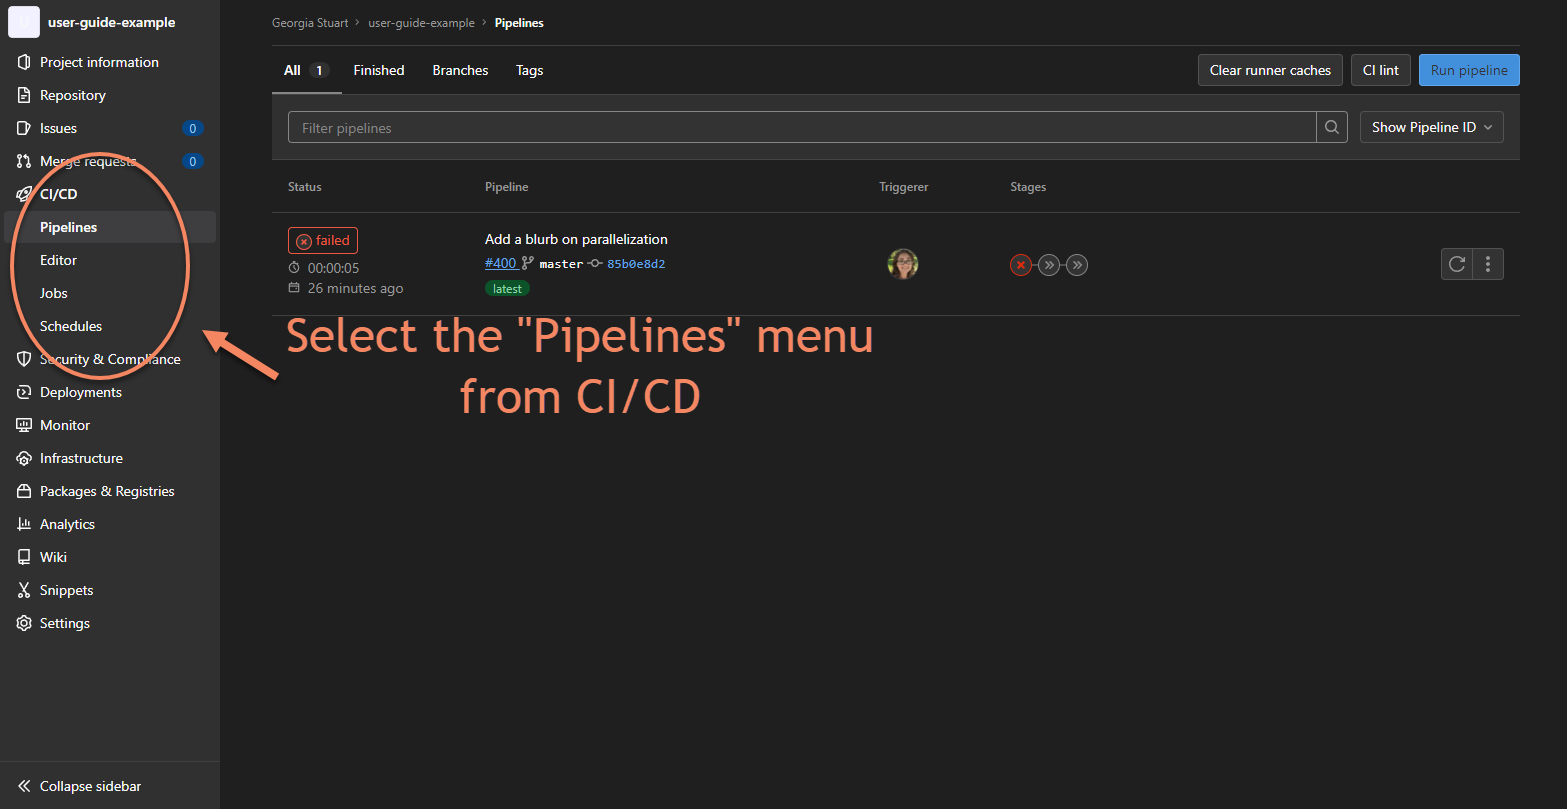
This commit caused an error with the Vale linter. Even if it passes the pipeline, you should still look at the Vale output and review suggestions and warnings. Fix as much as possible before submitting a merge request.
|
Vale has three severity levels: suggestion, warning, and error. You must fix errors before submitting a merge request. Suggestions and warnings can be ignored if you have a reason. Include your reasoning for ignoring any suggestions or warnings in your merge request. |
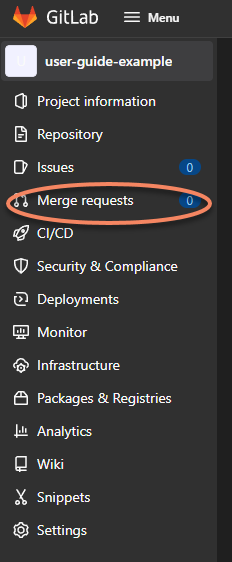
Submit a merge request
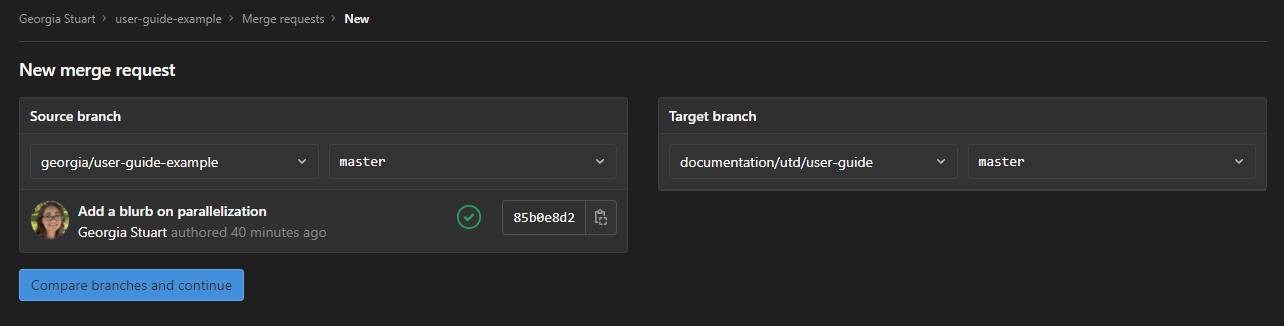
After you pass the Vale linter, it’s time to submit a merge request.
Select an origin branch, the project and fork you worked in,
and a target branch, generally master in the main project.
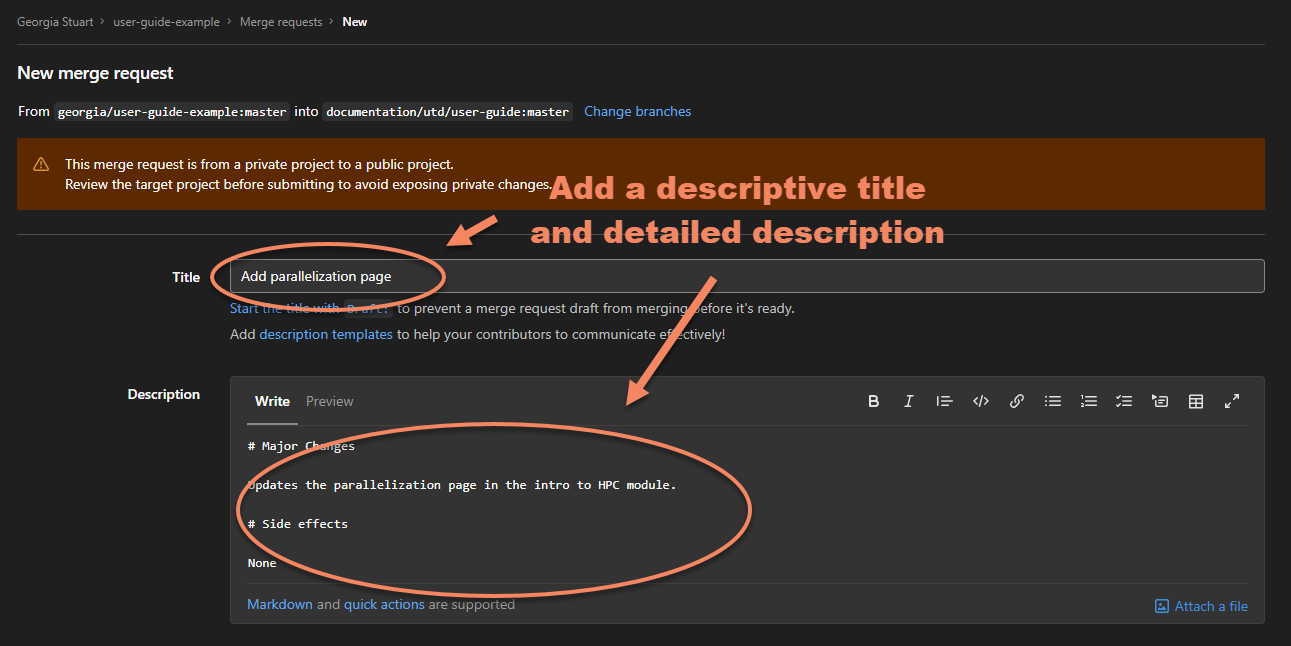
Write a detailed merge request title and description.
|
This is a good place to describe any warnings or suggestions you chose to ignore. |
|
If your branch has numerous small commits, you should consider checking the "Squash commits" checkbox. You should then proceed to write a commit message that describes all the changes you want to merge. |
Wait for your review
At this point, two CIRC staff members review your work. Check your merge request again in two to three business days for any changes or comments.
|
If your CIRC staff reviewers request additions or changes, you can commit them directly to the fork and branch the merge request originated from. This automatically updates the merge request. |
Merge
After you close all threads opened in the review and the merge request is marked as "approved" by both reviewers, you can click the "merge" button.

|
If your merge request contains more than one commit, select the |
Congratulations, you’ve contributed to the CIRC documentation.