X2Go
X2Go is a program that allows virtual desktops over SSH. Differing from standard Remote Desktop Protocol (RDP), X2Go only uses one port (22, same as ssh) while also saving bandwidth by only updating what changes (i.e. mouse cursor moves, window changes, etc.). This protocol is what’s used for remote desktops on Ganymede, specifically the x2go.ganymede.utdallas.edu node.
Setup
X2Go isn’t installed by default; you’ll need to install it before attempting a connection to the X2Go server. You can download it at the developer’s site for Windows, Mac, and Linux.
Setup on Windows and Linux is simple, just download and install the program.
Many Linux distributions have an X2Go package in their package manager (apt,
yum, etc.) so check that before downloading it from the website. If there is
a package, it’ll be called x2goclient.
For Mac, you’ll need to force the installation as newer versions of MacOS are very picky about what programs get installed from the Internet. You can find information about forcing installs via this Apple support page. In addition to that, you’ll also need to install XQuartz, as by default Mac doesn’t have an X11 forwarding method. You can download XQuartz here. Just download, install, and you’ll be good to go.
Preferences
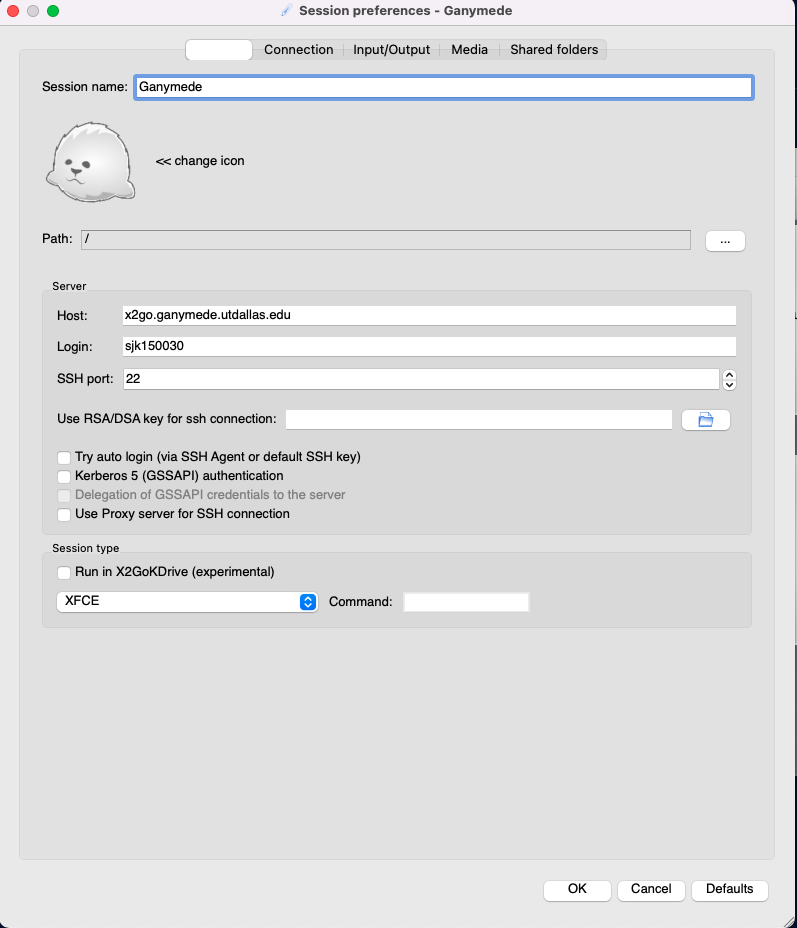
Now that X2Go is installed, it’s time to set up the session. Open the program
and create a new connection via the "star page" button on the top left of the
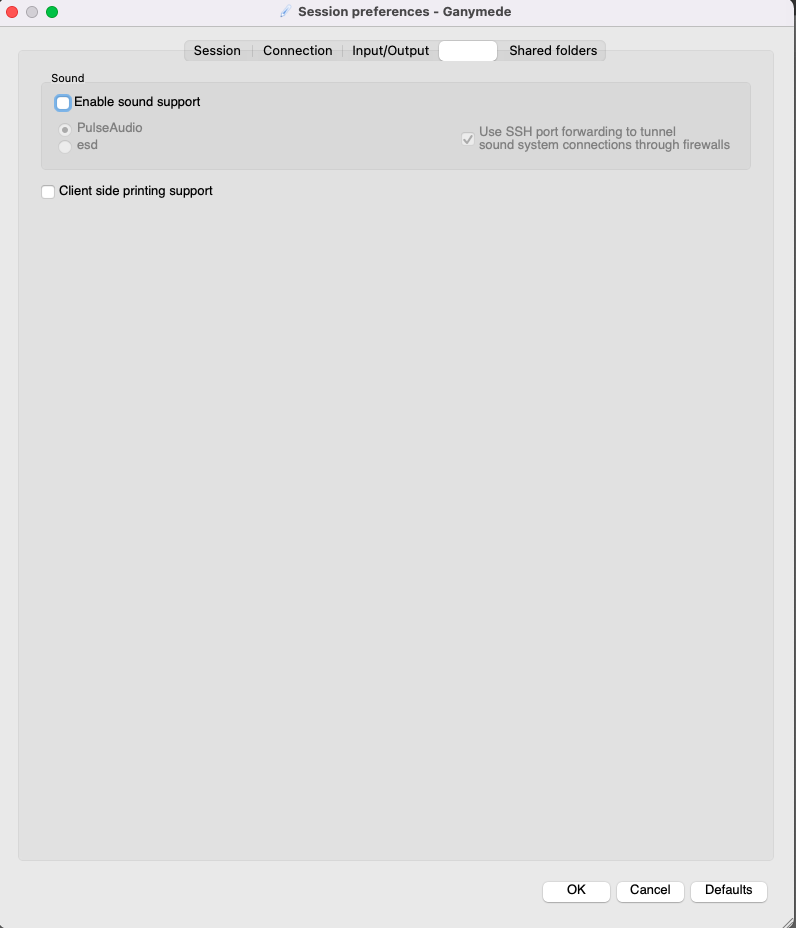
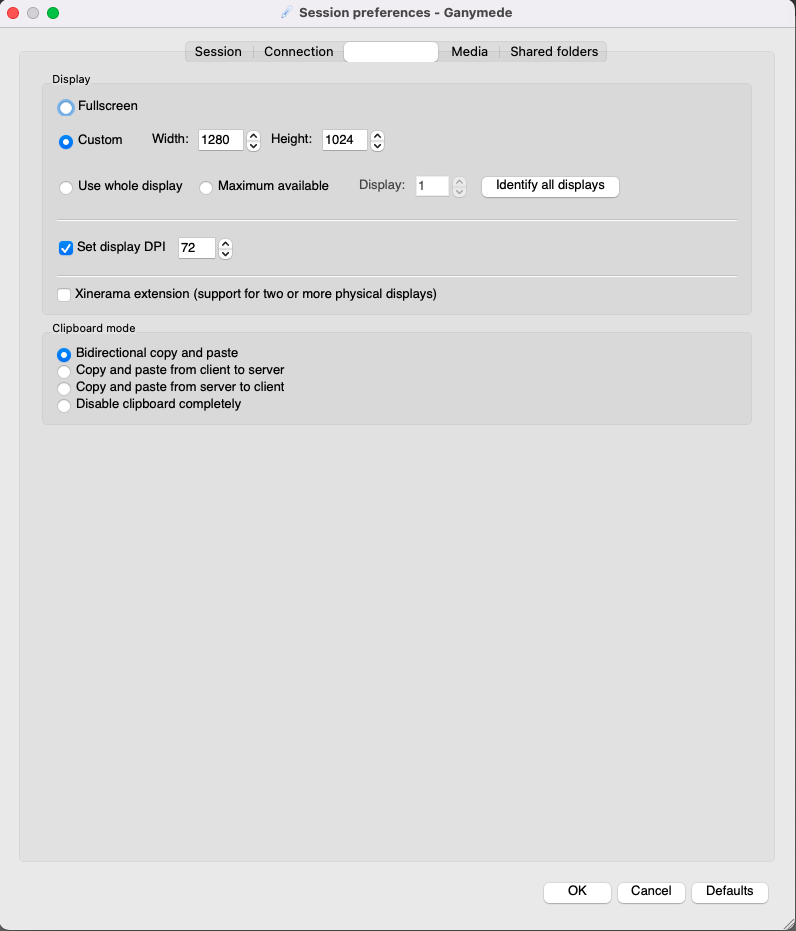
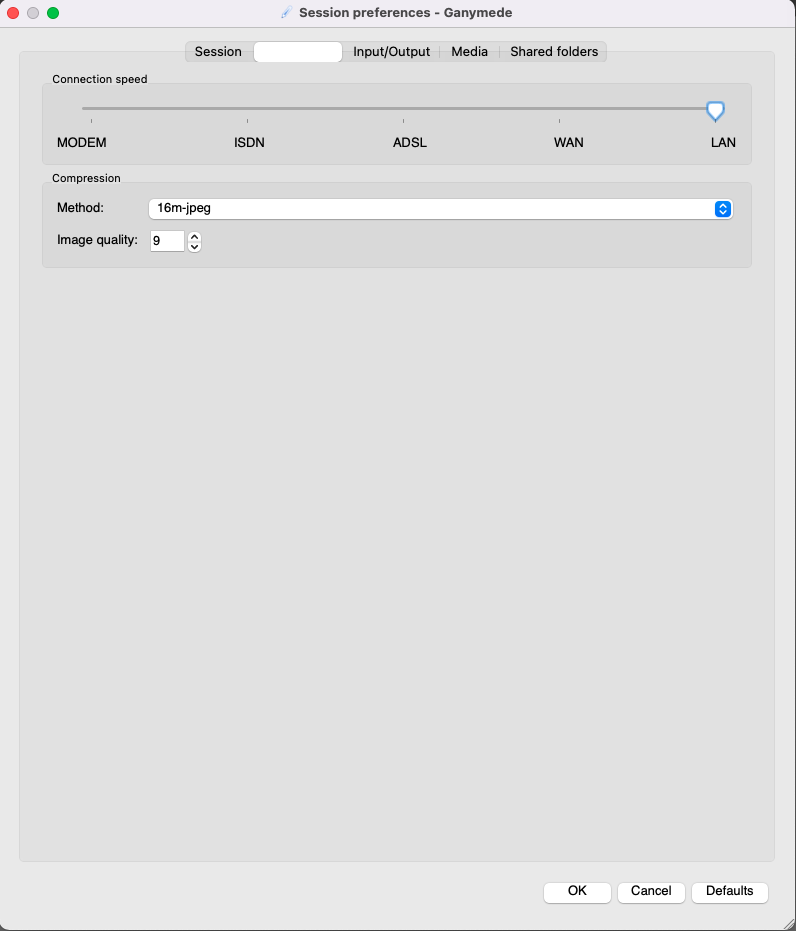
window. In each window, customize the settings per the below images. However,
it’s certainly advised to change the user to your own UTD NetID as the author
of this document doesn’t allow others to use their account.
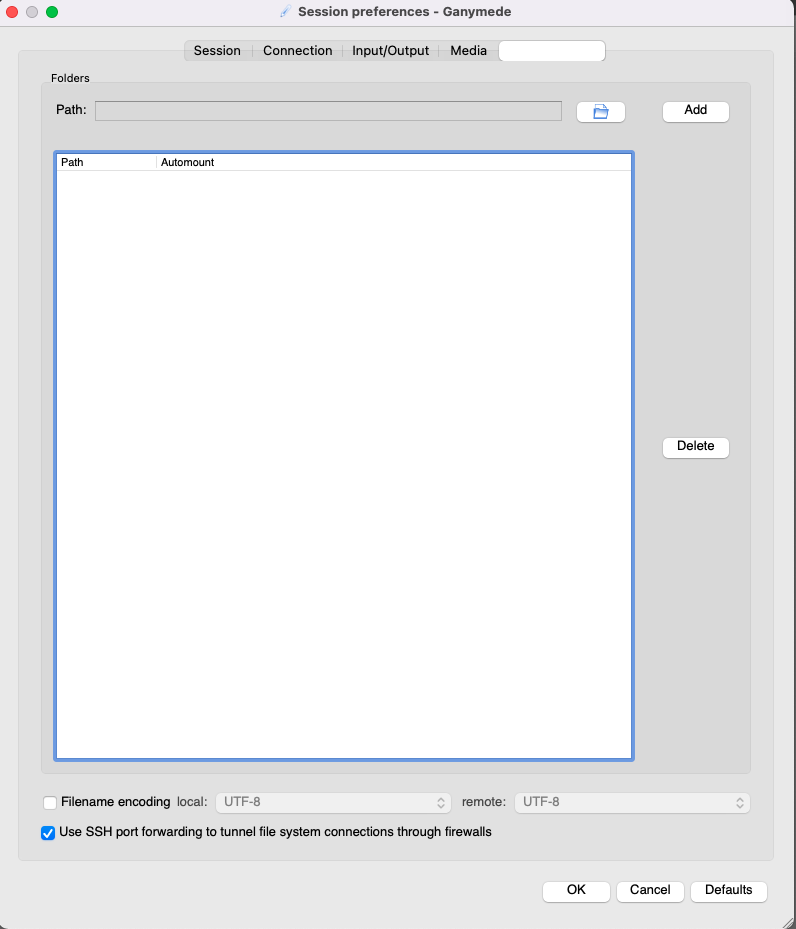
|
In the |
Save and close your preferences. Now your Ganymede session is saved.
Connecting
Now that the program is installed and the session is ready, time to connect. Before attempting a connection, you’ll need to connect to the UTD VPN. Information on setting up and connecting to the VPN can be found the UT Dallas Office of Information Technology help page. Note that CIRC is not responsible for the operation of the UTD VPN, if you need any assistance with that you’ll need to contact the UTD-OIT help desk.
Now that you’re on the VPN, just click your session on the right pane of the X2Go client program, and enter your NetID password. Clicking "OK" will run the session and in a few moments you’ll be presented with a remote desktop on Ganymede. Note that this may be in a separate window from the original client program that you ran. On Mac systems, the dock will show a black "X" with a red/orange ring around it. This is the XQuartz logo, and will be the session window if you were to minimize the session window at a later time.
Using the session
Once logged in, take a look around. For those unfamiliar with Linux, this is what a Linux desktop looks like.
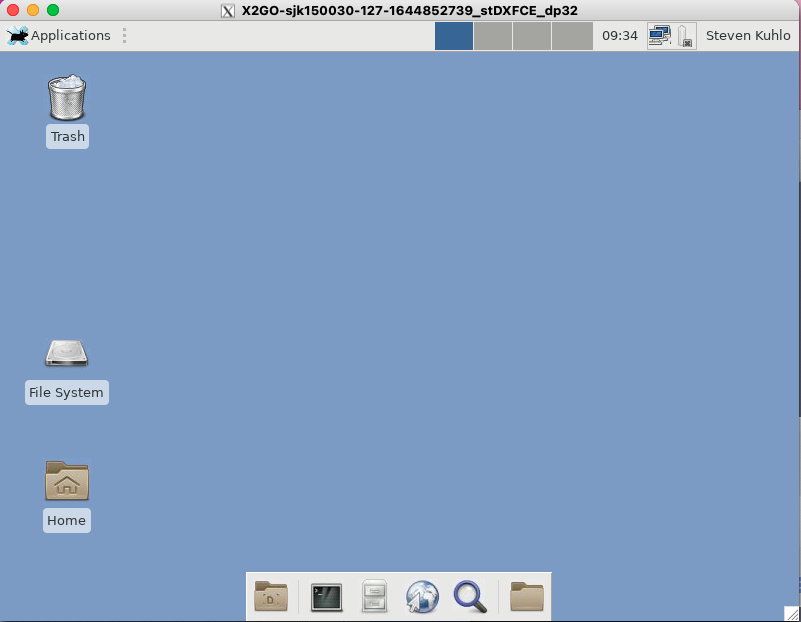
Most operations can be accomplished via the desktop GUI, with file browsing
accessible via the "Home" icon, which will take you to your /home/<NETID>
directory. Note that this directory is actually a network share, with
x2go.ganymede.utdallas.edu and ganymede.utdallas.edu being separate
systems. This means that when logged in to ganymede (via ssh) you can access
your files that you edit via the x2go.ganymede GUI.
You can launch graphical applications the "Applications" window, as well as via
the Terminal. If using the Terminal window, just type the command you’d
normally use on a workstation (although some programs require a module to be
loaded via module load first). The X2Go server has the same software
installed as the Ganymede login node as well as all compute nodes, so anything
you can use on Ganymede or the compute nodes can be used on X2Go.
Special cases
VMWare VMPlayer
| The following only applies to Mac, and users that are using X2Go to run VMWare VMPlayer. |
For some reason, Mac+X2Go+VMPlayer has an odd input issue. If not mitigated, any keyboard inputs into a VM running in VMPlayer via X2Go will result in nonsensical gibberish. The fix is fairly simple, but non-intuitive.
First, start an X2Go session as normal. Start VMPlayer via the Applications window. It’ll take a second to start up. Once it starts completely, close it out.
Now, open the "Home" folder and in the "View" tab, click "Show Hidden Files."
This will show a bunch of .<directory> files. Click on the .vmware
directory.
Inside the .vmware directory, create a new text document called config and
paste the following line in its contents:
xkeymap.nokeycodemap = true
Save and close the document. Now, you’ll be able to have keyboard inputs inside of VMPlayer after a program restart.
| This can also be accomplished via a command-line text editor (such as vi or nano), but this is only recommended for advanced users. |